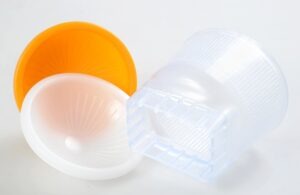
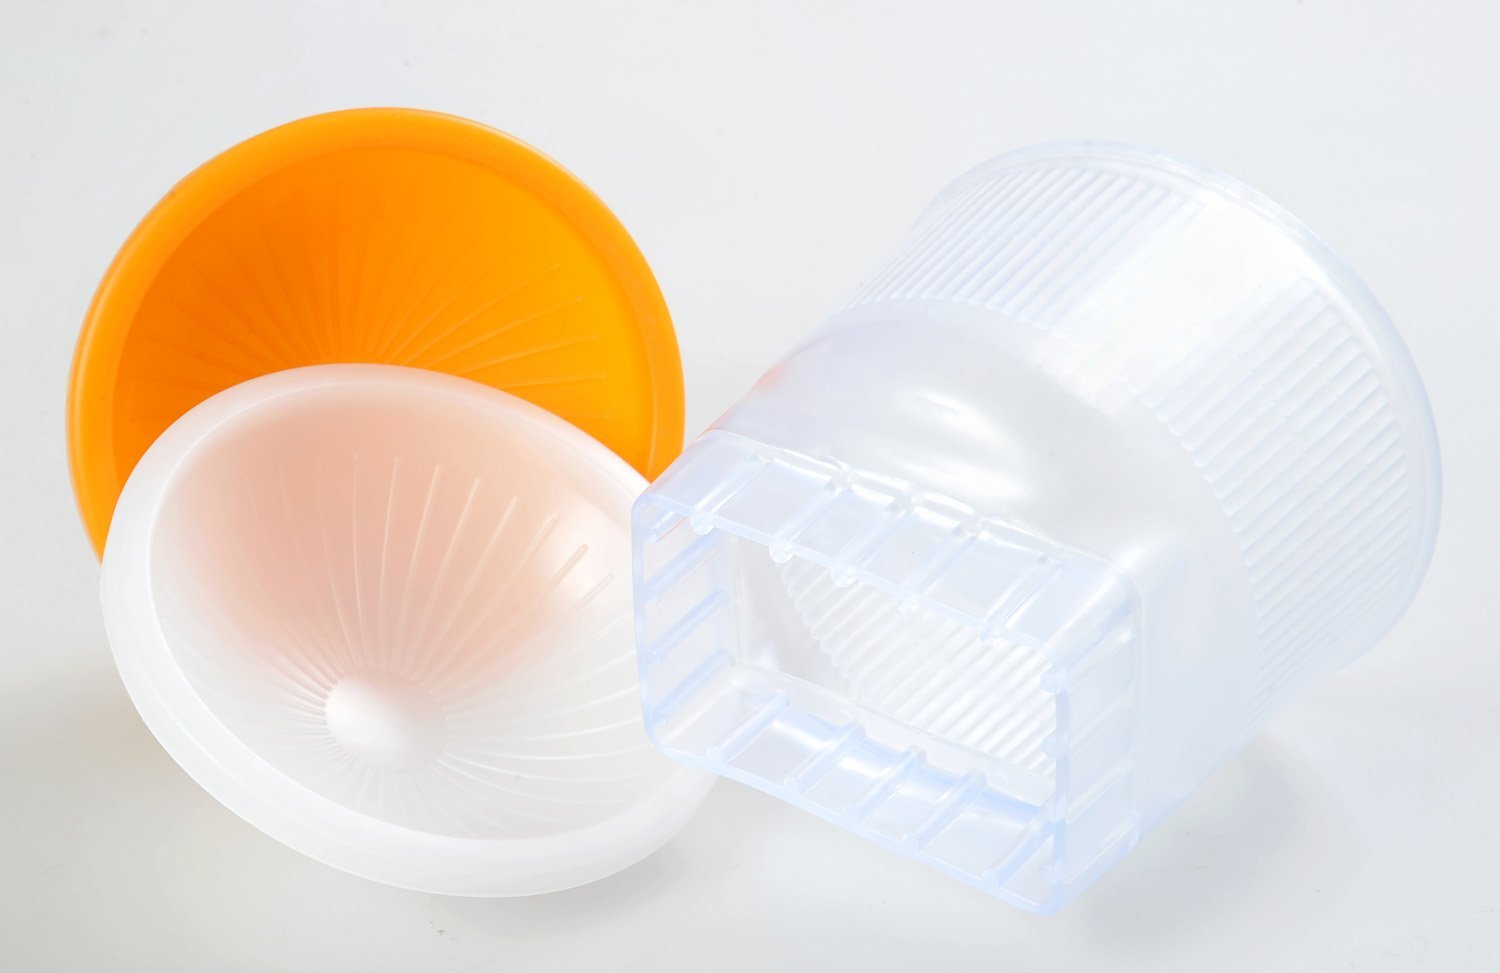
The lambency flash diffuser is an attachment you put on your speedlite to spread the light around a room providing softer light on your subject.
For those who are new to photography, soft light produces lighter and fewer shadows by increasing the size of the light source.
What does it do?
This diffuser is designed to bounce light around a room and hit the subject form several different angles. Think of it like a lamp attachment for your flash.

The diffuser has a clear and an orange replaceable dome to change the color temperature.
One will keep the flash at its 5500k range and the orange will try and change it to around 3500k.
The 5500k range is the color of light around midday in direct sunlight. The 3500k range is the color of early morning or late evening.
The 3500K light temperature produces warmer skin tones and is considered much preferred over the blueish color in the 5500k range.
I have been using the lambency flash diffuser for the past few months. I really love the results so far. The light resembles having a high powered lamp in the room. The diffuser provides good all around light. It can easily remain mounted on your camera for better shots on the go. I have used it both on camera and off camera with acceptable results in both cases.
As with all light modifiers, there are always pro’s and con’s in its use and you must understand both to be able to take good photo’s.
Take a look at the Amazon reviews and decide for yourself.
Pro’s:
- Good overall light
- Softer light then direct flash
- It can diffuse both indoor and outdoor (indoor produces much better results)
- Easy to use.
Con’s
- Very high light loss, between 1-2 stops.
- Limited range (mainly due to light loss)
- Bulky (but better then most other options)
- The modifier can be used both in portrait and landscape mode
Testing
I spent a few hours today taking different pictures using several different light modifiers and found slight differences between all of them.
I was truly expecting a bigger differences and realized the reason I was not seeing big differences was because the TTL mode on the flash has taken over and corrected for any light loss to bring the photo levels to normal.
This is a key factor in the review. When the diffuser is being used with a TTL powerful flash, everything works great.
The problems will come when using this device in manual mode on older, less powerful flashes.
One other thing to note. It is best to view each photo only by the light layout.
There is no outside light being captured. All the photos are just using a single speedlite.
All photo’s are taken with the same details. The Camera is set to manual mode, speed: 125, 5.6, and 400 ISO. The flash (Neewer VK750ii) is in i-TTL mode and the camera is a Nikon D3200.
The off camera is being triggered with a Yonguo YN-622n-TX and YN-622n on a standard flash stand about 3 ft away from the subject and on a 45 degree angle from the camera’s right. The studio has black ceilings and coffee color walls. The background is white (camera WB setting off). The camera white balance is set to flash.
This is a good standard for simple portraits.
Lambency Flash Diffuser Test Results
Direct Flash
This first photo is a great to compare to the others. It is using a on camera bare flash pointed directed at the subject. The camera is about 5 feet away and on angle with the lens. Overall, not bad considering direct flash on camera often produce terrible results. It is clear that iTTL has done a great job of adjusting the light.

Lambency Flash Diffuser
These next 2 shots are using the lambency flash diffuser in both vertical and horizontal mode. The vertical mode is pointing directly at the subject and being used basically as a simple diffuser. You can see the shadows that are much more pronounced in the direct flash above have been reduced a bit. Also, other shadows are softer too.


Off Camera
These last 3 images are showing the same vertical mode as before but is off camera. The first one is a bare flash pointing directly at the subject and the second is using the lambency flash diffuser in vertical mode. The last one is using the orange cone instead (something I never use because I don’t like the results).


Conclusion
Overall, I think the photo’s are all usable.
The key benefit of using the lambency flash diffuser is a softer light but it comes at the cost of 1-2 stops of light loss. In a small room, I like the light output of the lambency.
The key use for me would be to set it on a remote trigger in a good spot in a room and freely take pictures of family and friends without flashing them in the eyes with each shot.
If the room provides a good large white wall in the right location, a simple flash bounce off the wall would probably be better producing softer light with less loss.
My experiences tell me good walls are harder to find in houses these days and because of this, I will continue to make sure I carry this modifier around in my photo bag because the benefits are clear and noticeable.
In the near future, I will be doing similar reviews of the Rogue Flash bender (both small and large) and compare them to the lambency flash diffuser.
Stay tuned and let me know what you think and if you have any questions about any of the items I used in this review.


